

What is a server? A server in its self-explanatory definition is a large computer that provides services to clients. A client is a user that assesses the server with a computer program. The Amazon Web service is a cloud platform just like Microsoft azure or google cloud. In this article, I will be outlining a very basic way to create a local server on the AWS platform.
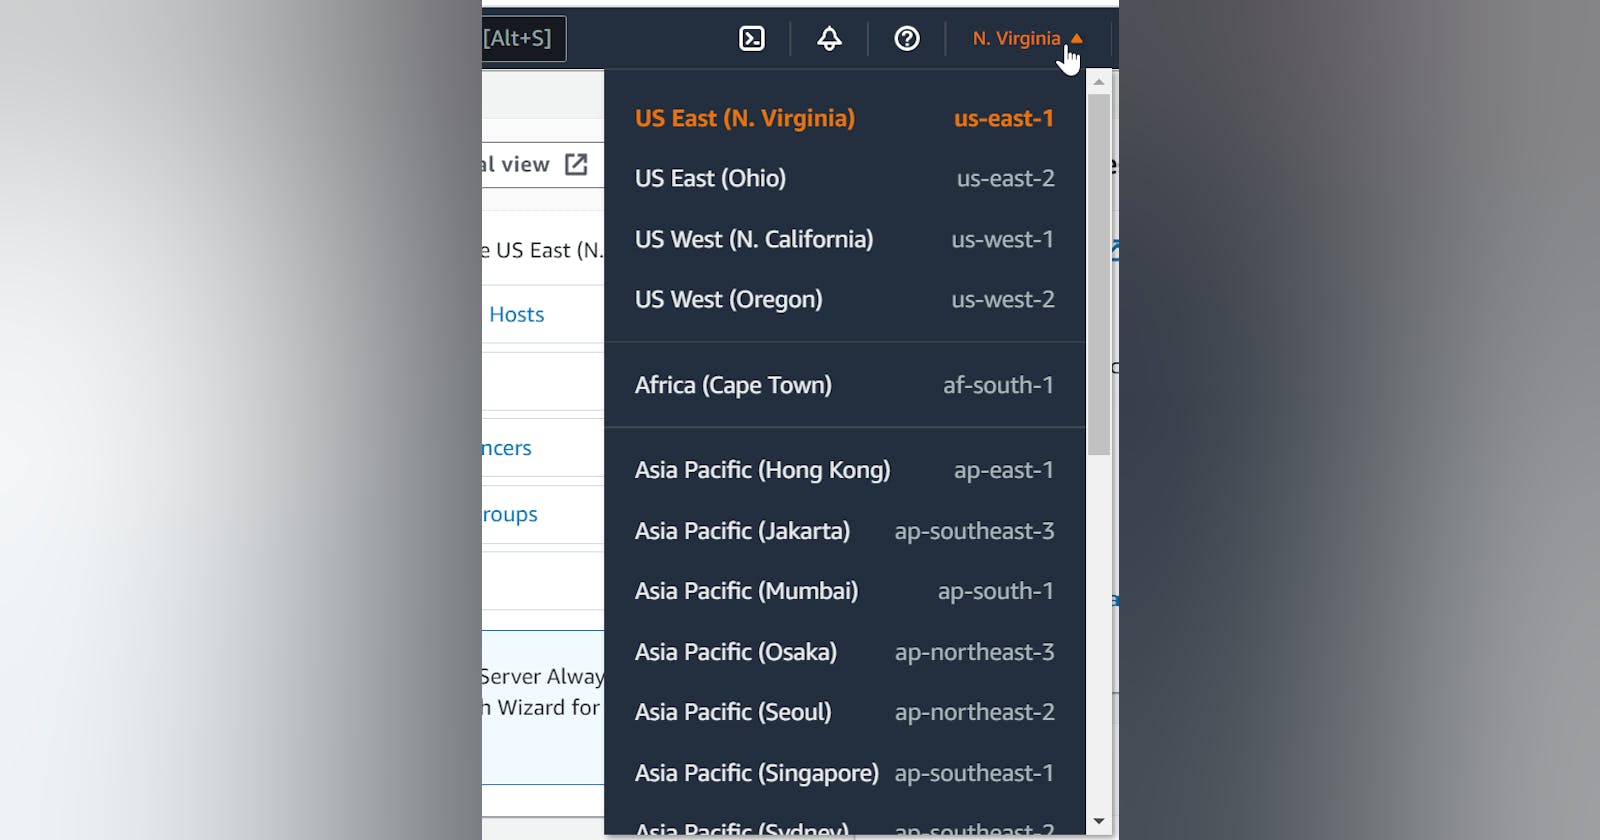
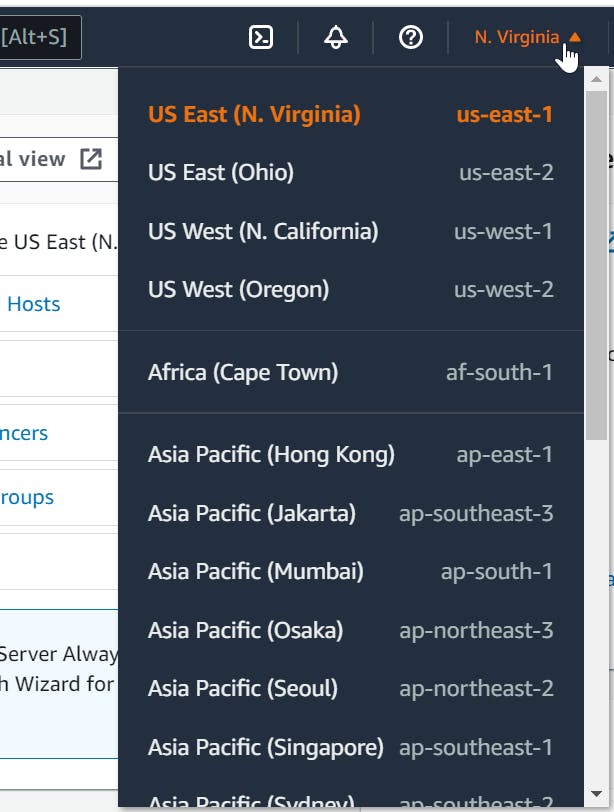
Cloud service providers have a concept known as regions and availability zones. The region is a location anywhere in the world where data centers exist. The cluster of data centers constitutes an availability zone. To understand this better, use the knowledge of an internet service provider like MTN. When you live close to the telecommunication mast, you are guaranteed better network coverage. In the same vein, creating a server in a region where your clients would visit from the most, guarantees the fast availability of the services they need. In this demonstration, I will be using the region auto provided for me. US East, North Virginia.
First, visit the AWS management console and create an account. I was able to access a user account created by root admin Emelda, for this article. To learn how to create more users and perform Identity access and management, click here.
The AWS offers several services as can be seen in the upper left corner.

Search for EC2 (Elastic Cloud Computing), and this is responsible for virtual servers in the cloud.
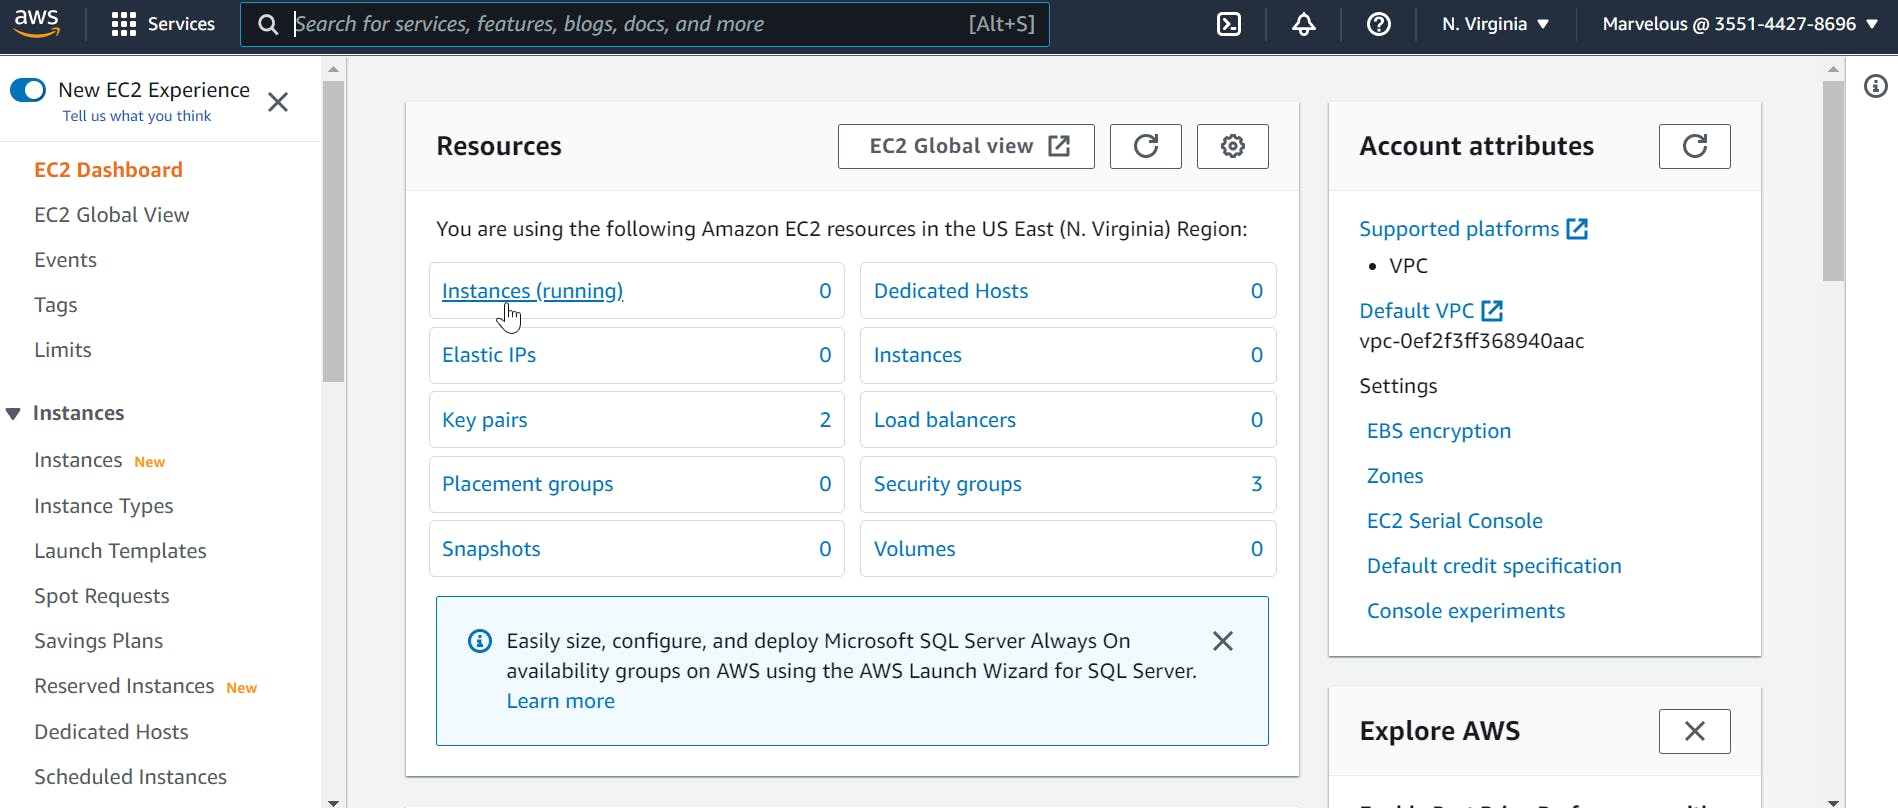
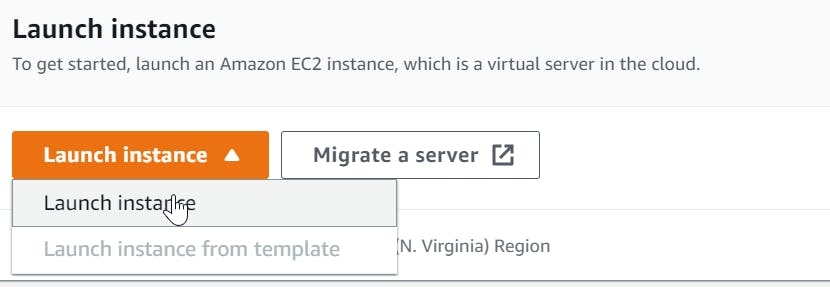
In the bars seen, any server we create will appear under 'instances'. An instance is a virtual server in the AWS cloud. As can be seen, zero instances are running because we haven't created any. Click on 'Launch Instance'. We will not be using any templates for now.
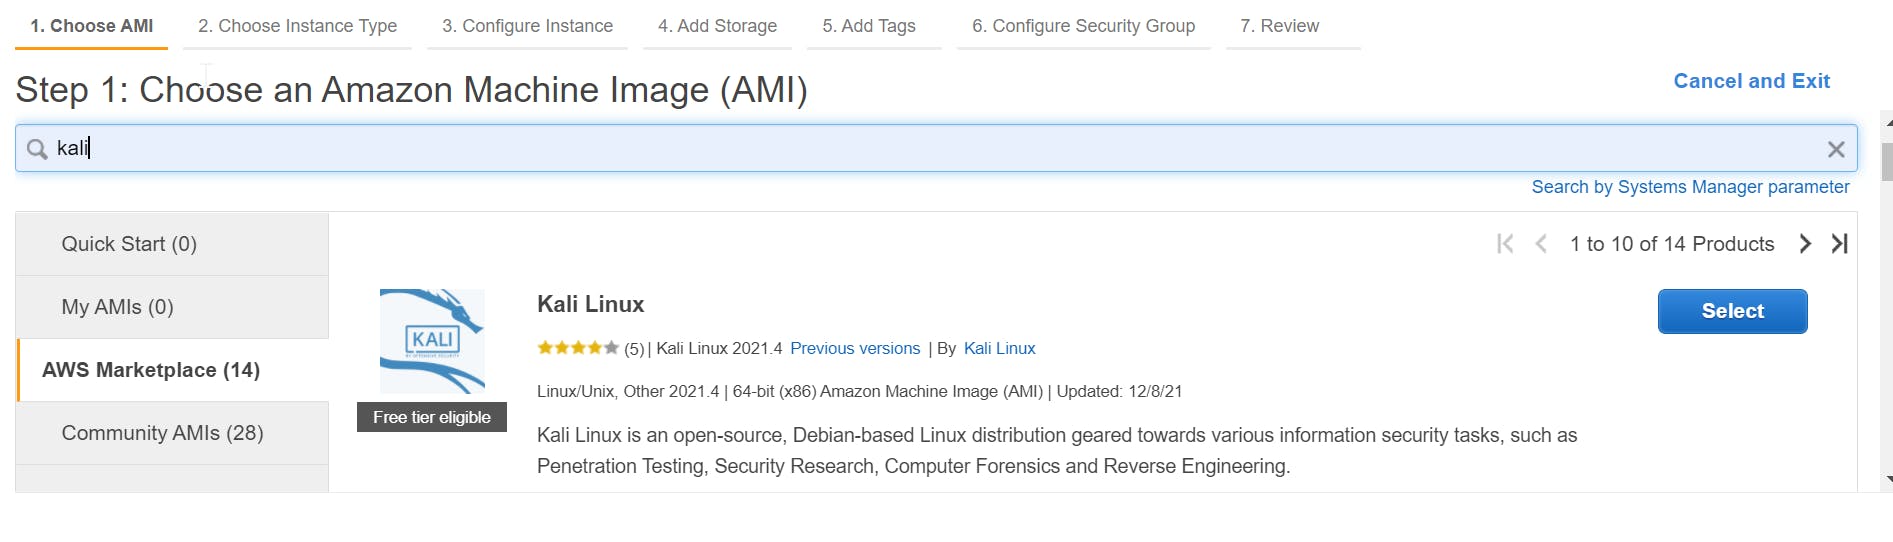
You will be led to a page where you would be asked to choose an amazon machine image and a list of all the outlined steps from one to six. I will be searching and selecting Kali Linux from the AWS marketplace. I will particularly be using those that are FREE TIER ELIGIBLE to avoid running up costs on the account. Please always use the free tier eligible options as a new user.
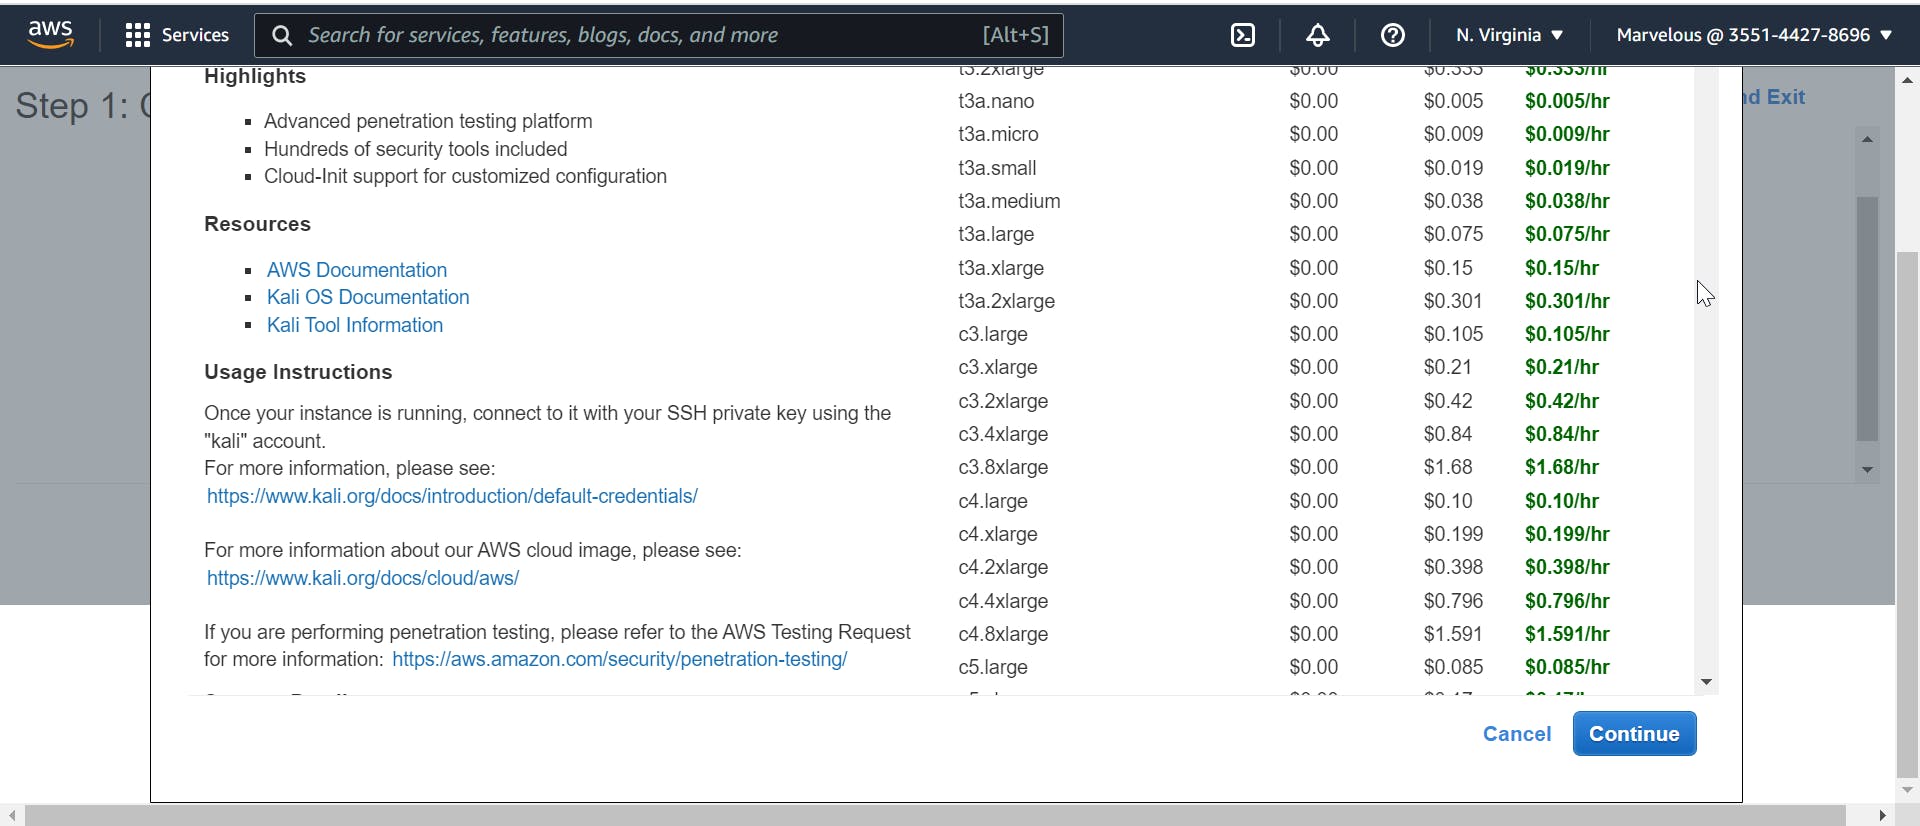
Ignore the bills it appears to be racking up as you are on a free tier eligible option, and click on continue.
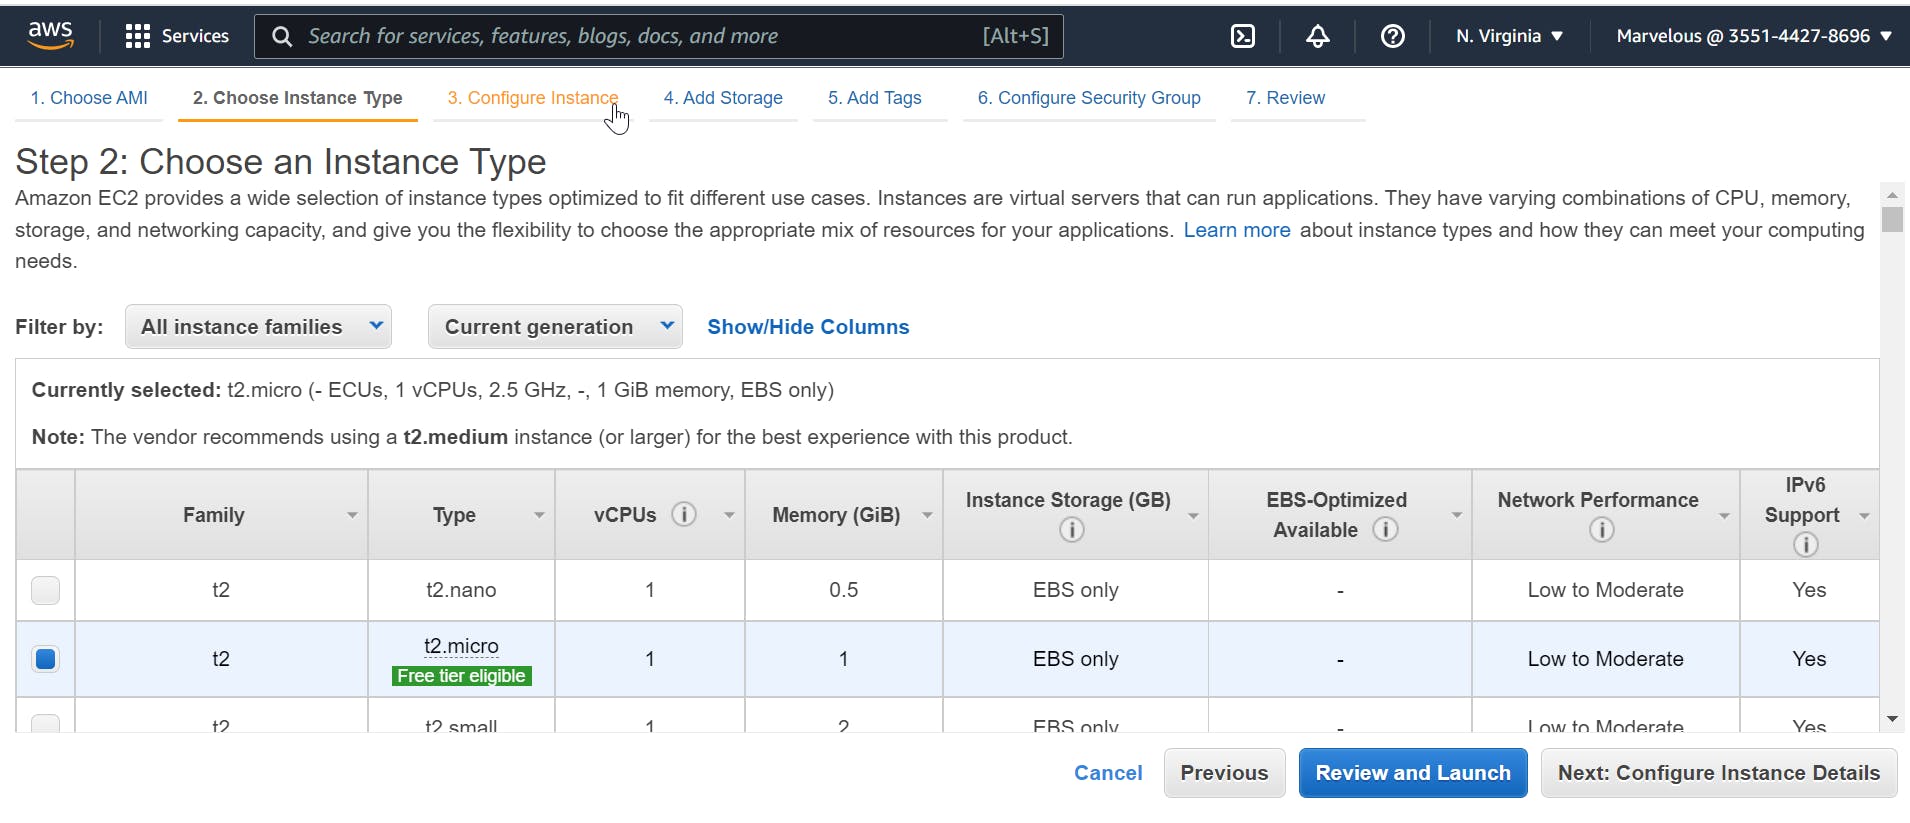
For step 2 I will be choosing a T2 micro instance type.
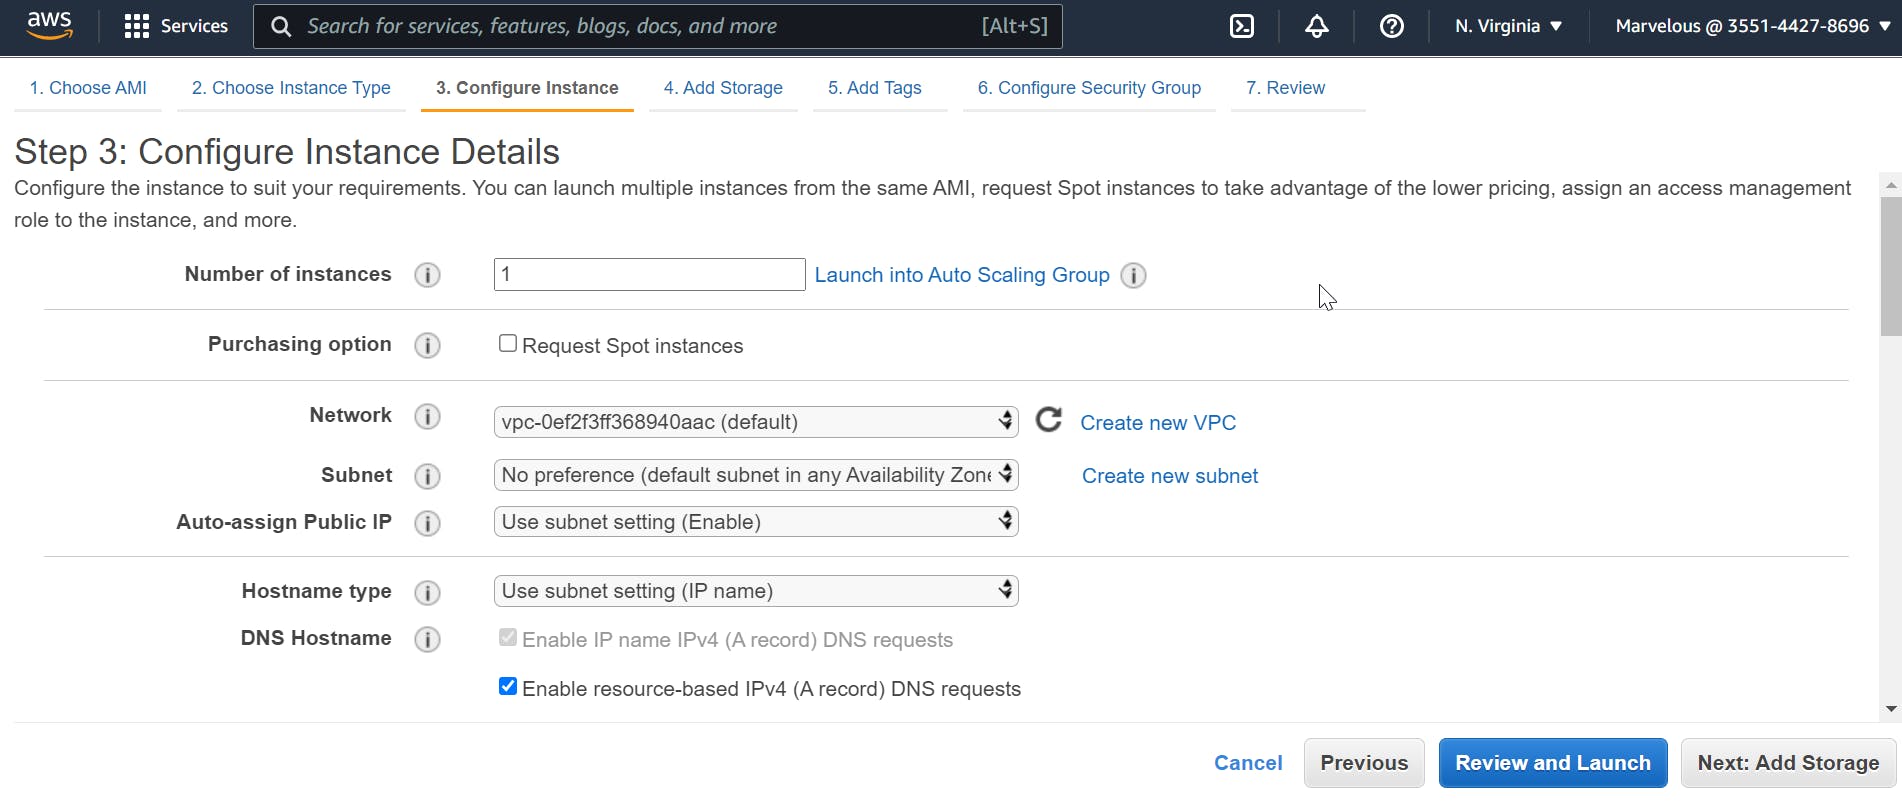
Next, configure instance details. One of the advantages of AWS cloud computing is that more than one server can be created, unlike when creating a local one with the Kali Linux on your computer, For now, we will only be creating one instance.
For the add storage step. we will be using the default storage. EBS stands for Elastic Block Store, and it is designed for EC2.
To add a tag, we will be assigned to the Key = name, and value = kali, which is the name of the webserver being used.

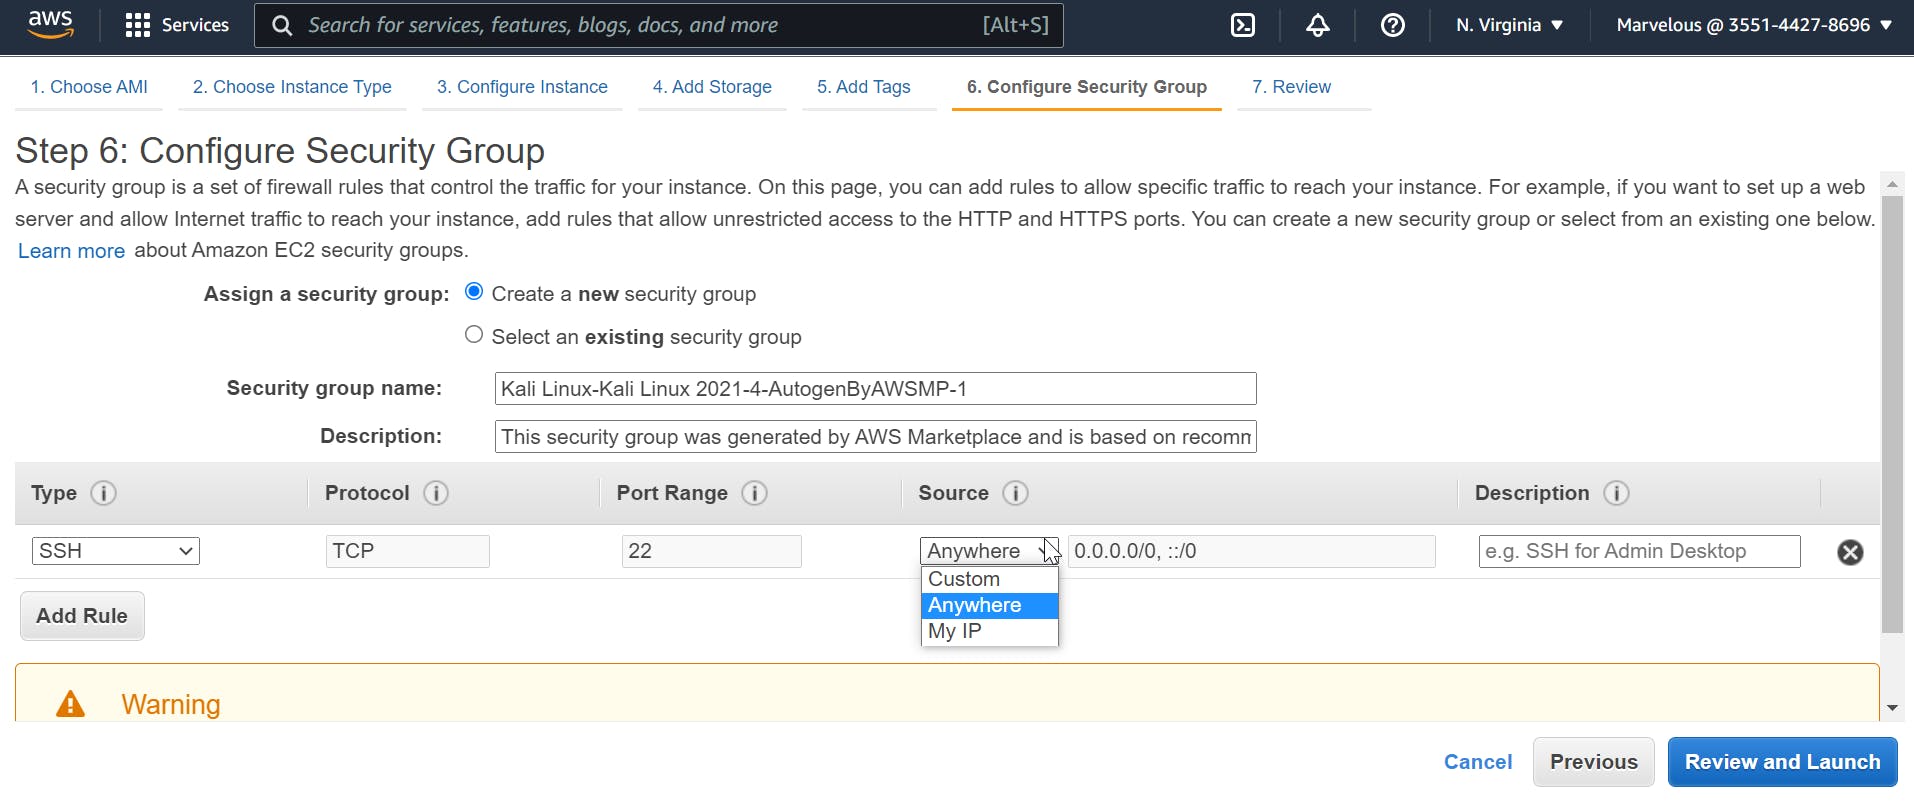
Configuring Security groups is a very critical step in the process of creating this server. It allows you to state who can access the server. Under source, we will change the custom IP to 'Anywhere'. This sets the IP address to 0.0.0.0/0, ::/0, allowing anyone in the world to connect to that server.
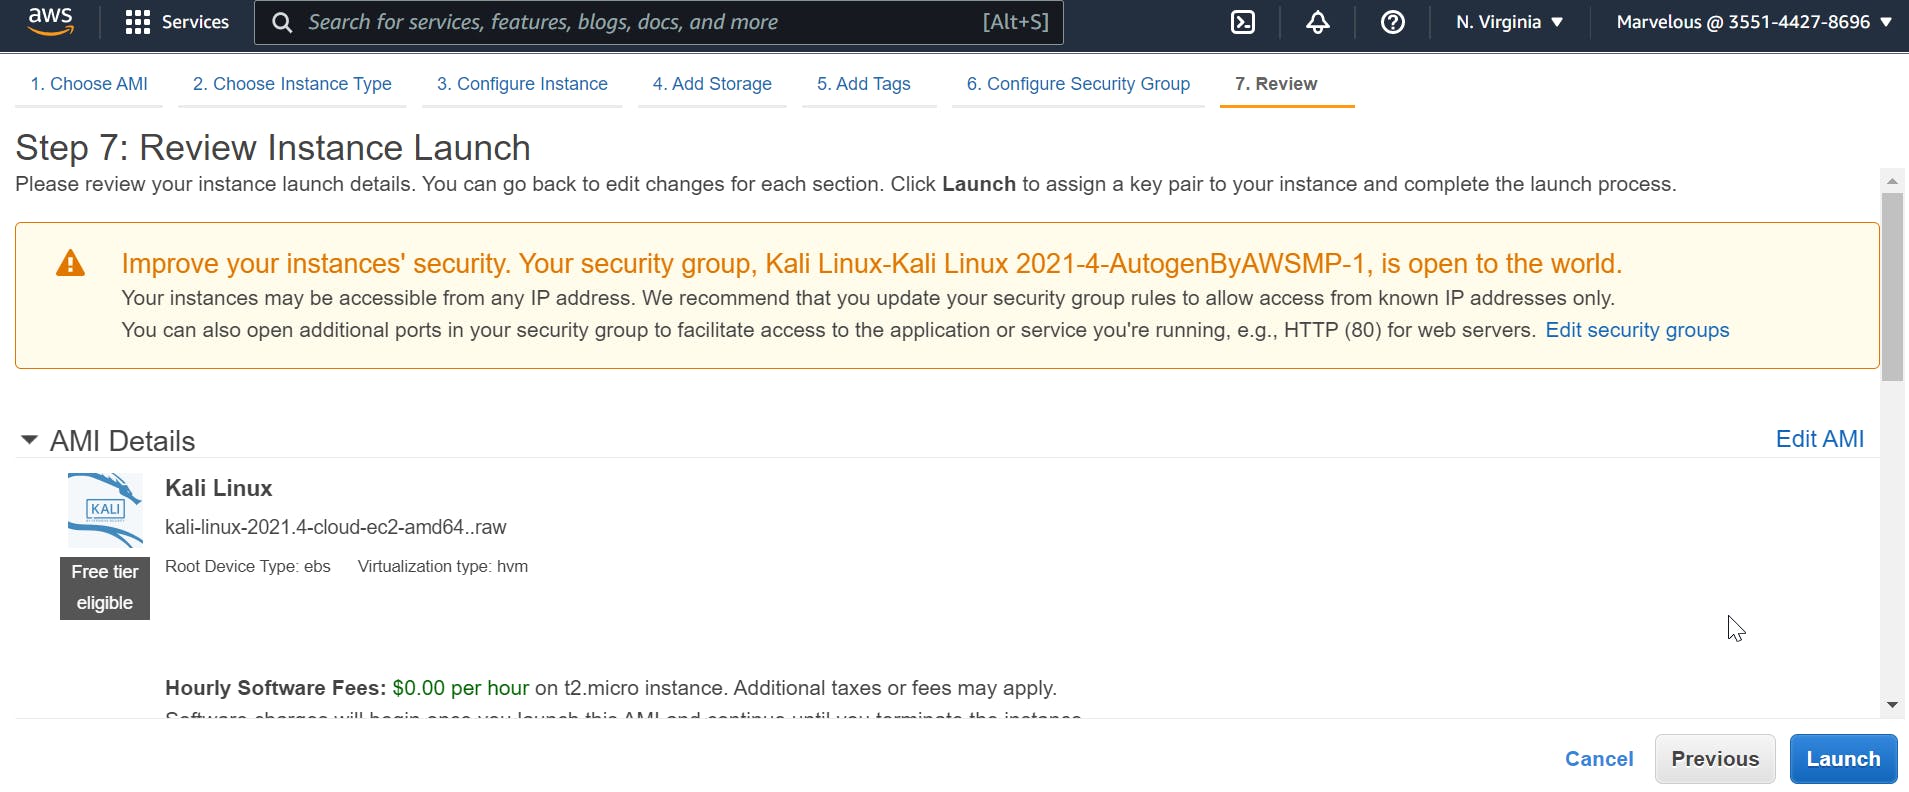
Next, review and launch. AWS warns you that your instance security group is visible to everyone. But that's okay for this demonstration. Do not make the mistake of setting it to 'My IP' if you were to demonstrate it to someone else. This makes you vulnerable to attack from anyone with malicious intent.
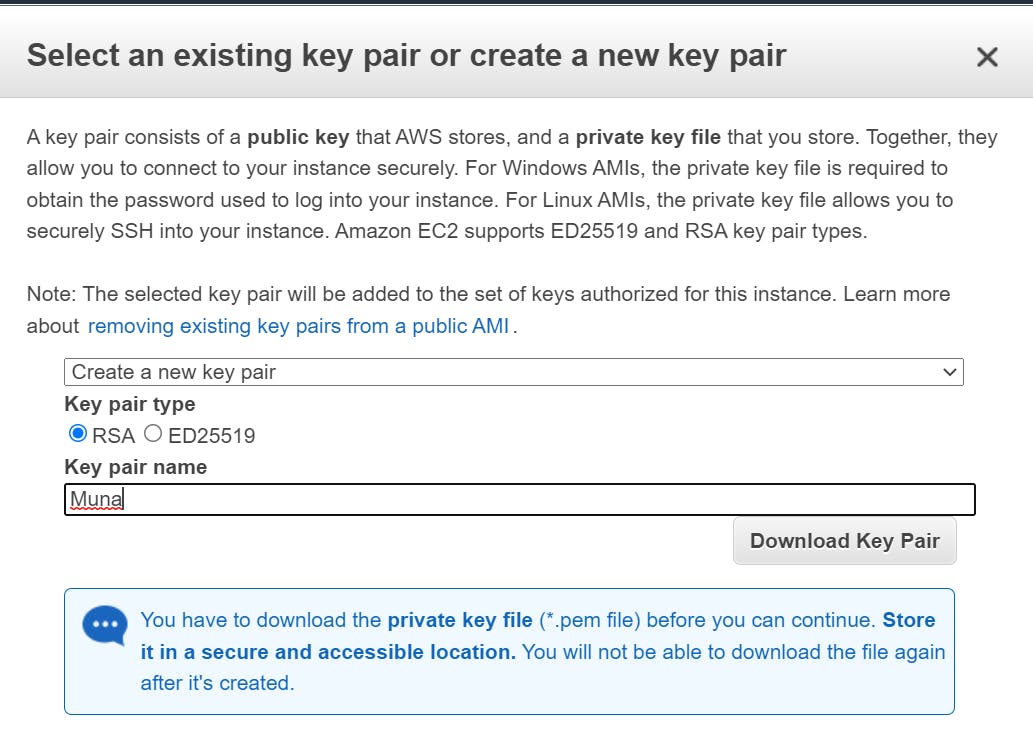
Next, launch. Before that, you will be asked to create a key pair or choose an existing key pair. We will be creating a new one and naming it anything we want. This key pair serves as a security measure for anyone trying to access the server, and it is necessary because our security group is configured to allow anyone to access it. We will be accessing the server using a terminal on our computers, subsequently. Choose the RSA type and download the key pair with a .pem extension. A .pem extension stands for Privacy Enhanced Mail and is typically used to store things like keypairs. I have named mine 'Muna'.
Launch
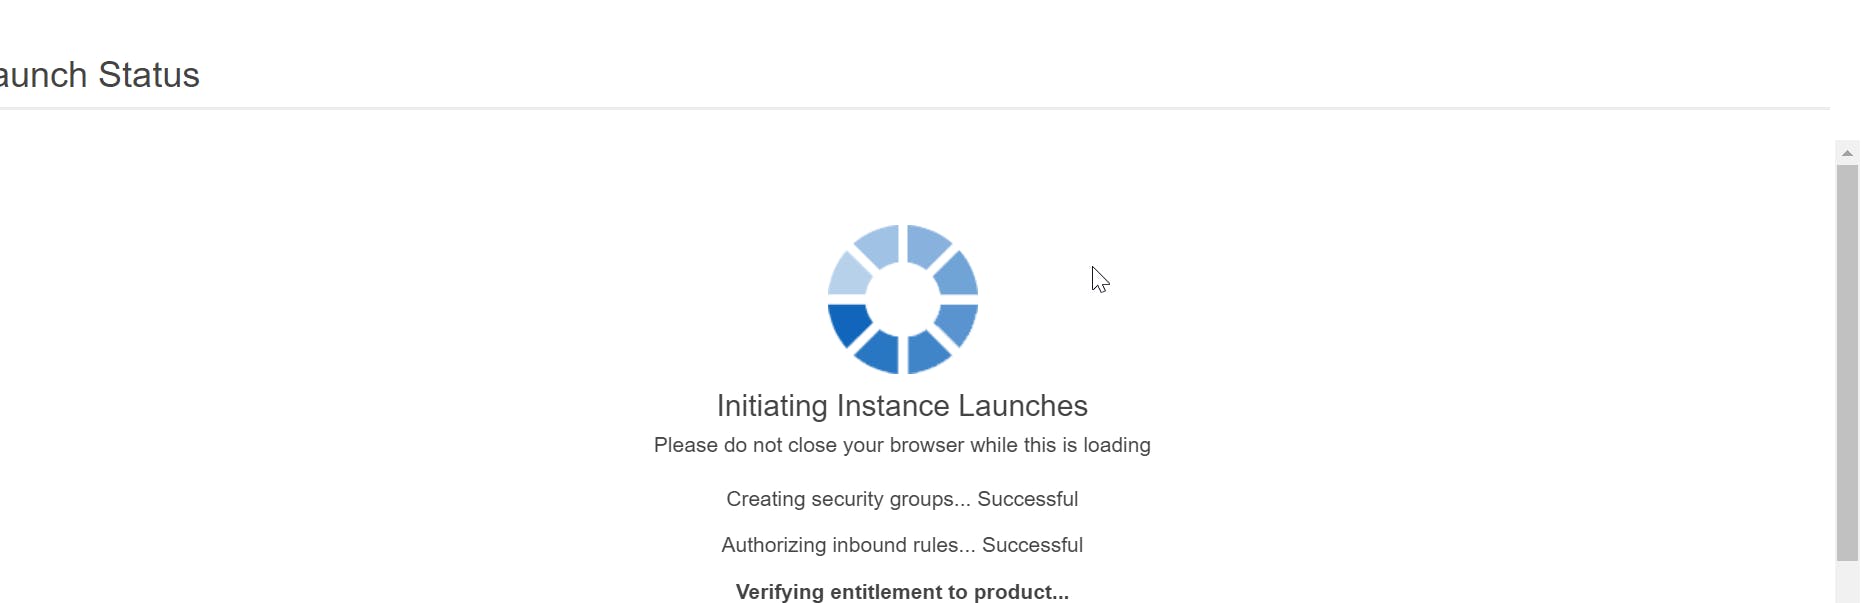
Congratulations, you just launched an instance.
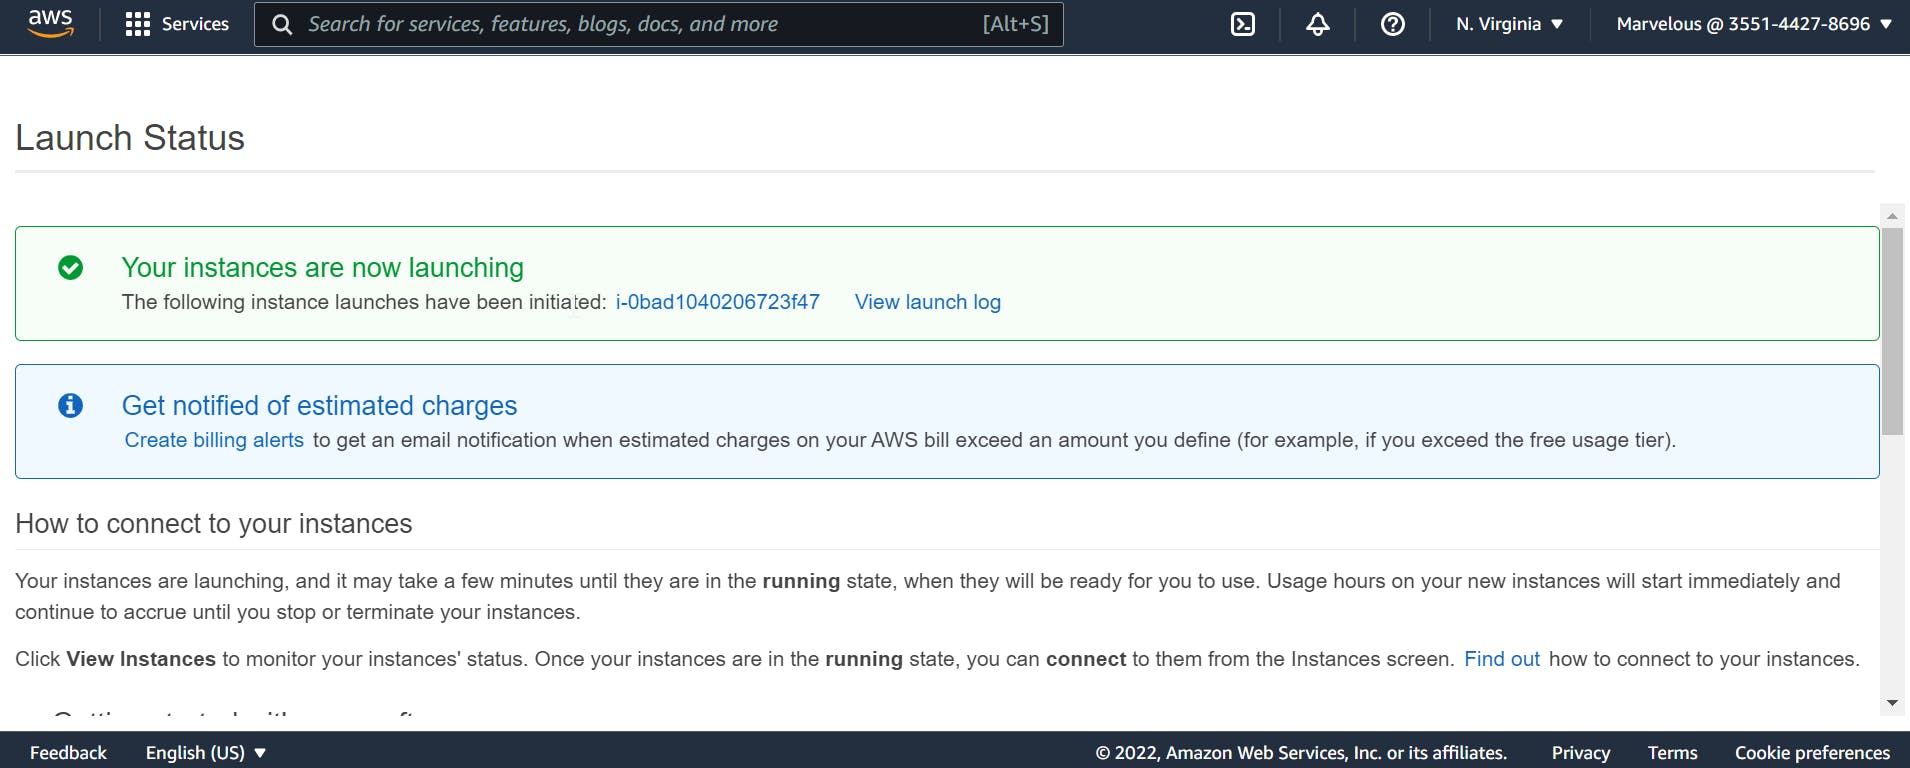
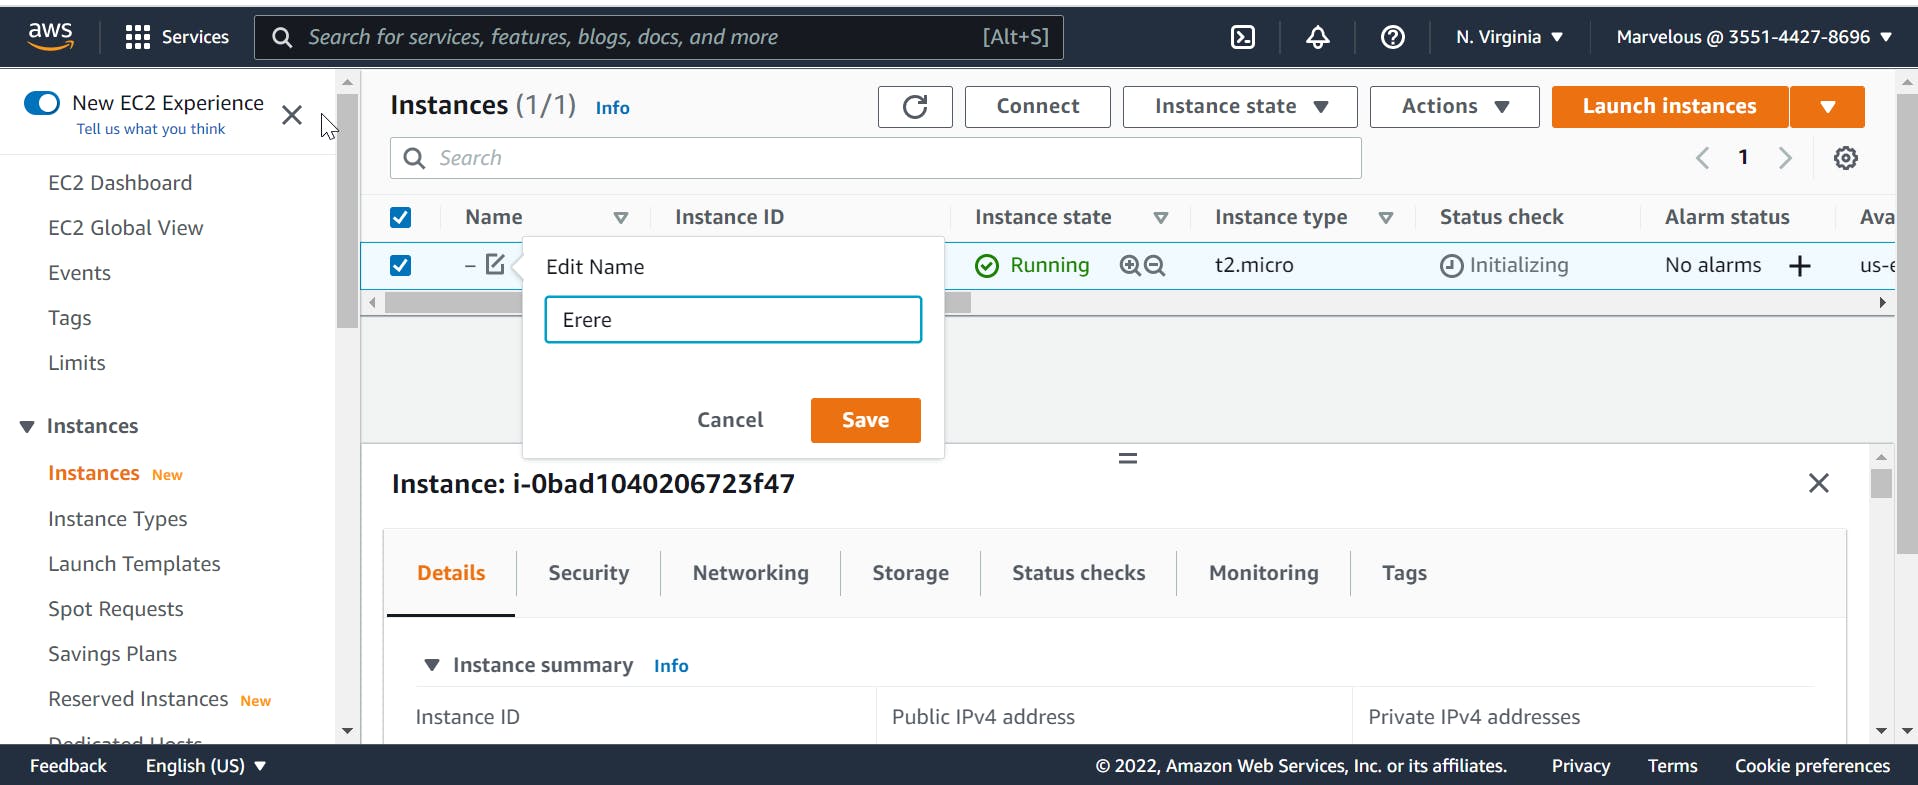
View your instance and notice that they are running. I will be renaming my instance to 'Erere' from the dashboard. I will also be selecting it, to connect. The connect button is on the top of the page where is instance is.
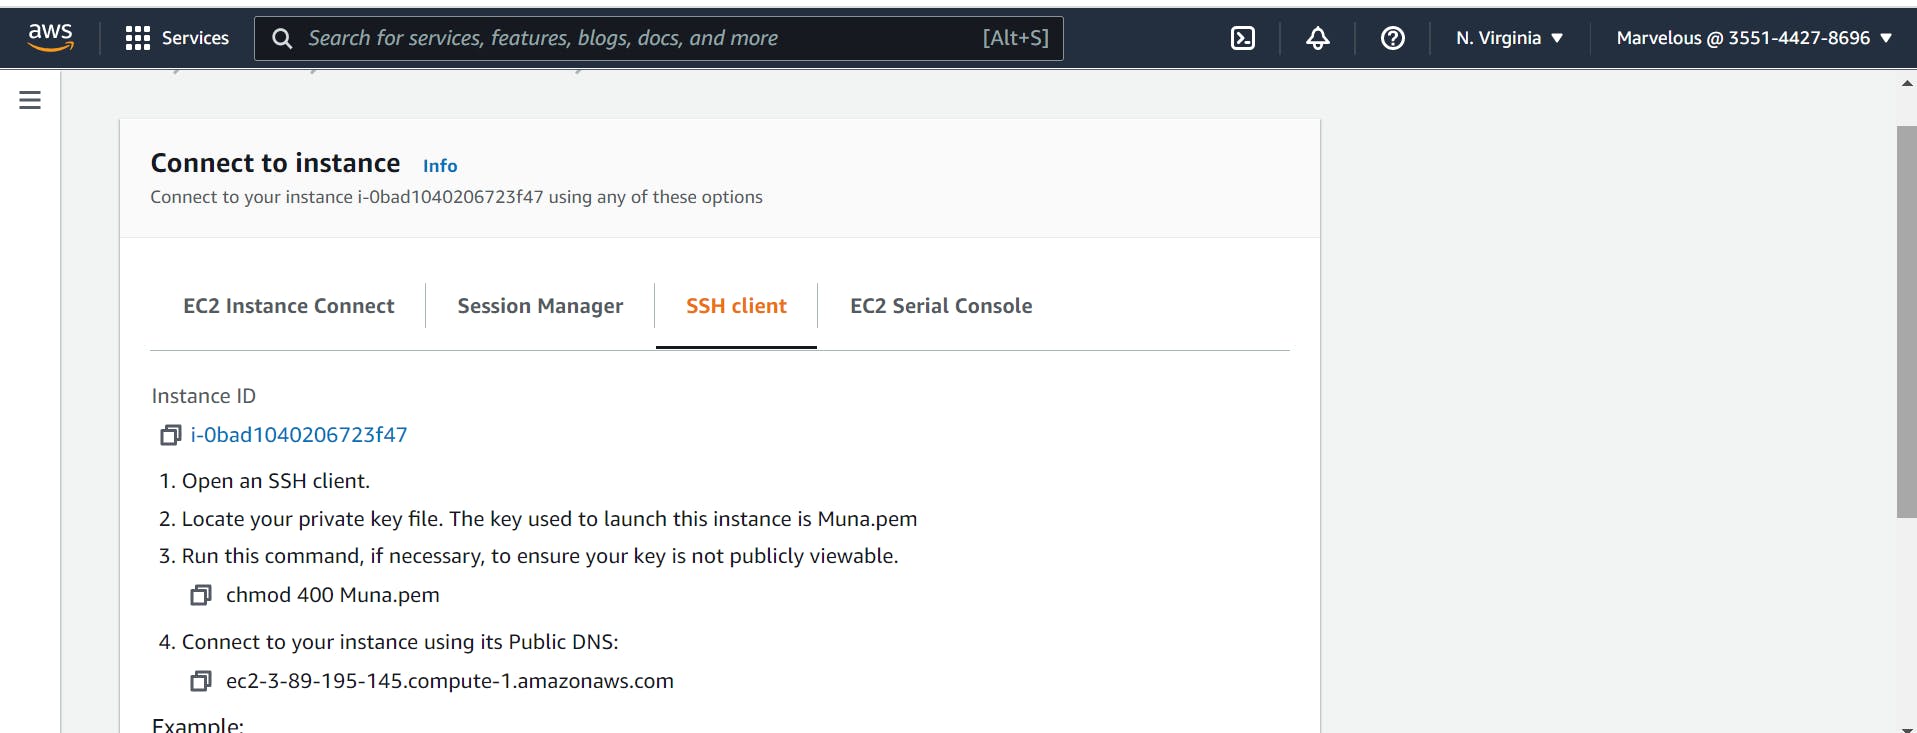
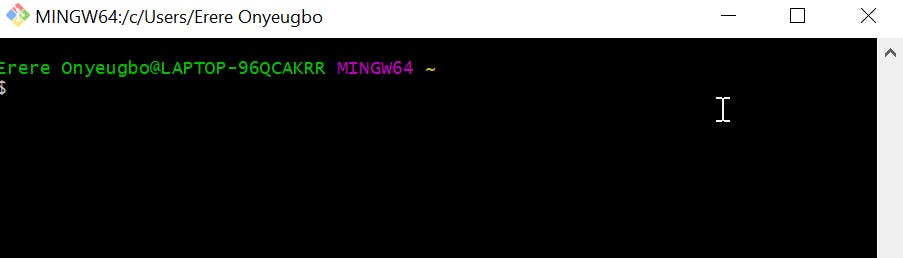
Now, connecting to the instance is simple because the steps have been outlined. I will be using my gitbash terminal as the SSH client to connect and follow the outlined steps.
I already have the gitbash installed. Any other command-line interface can be used but I generally prefer gitbash.
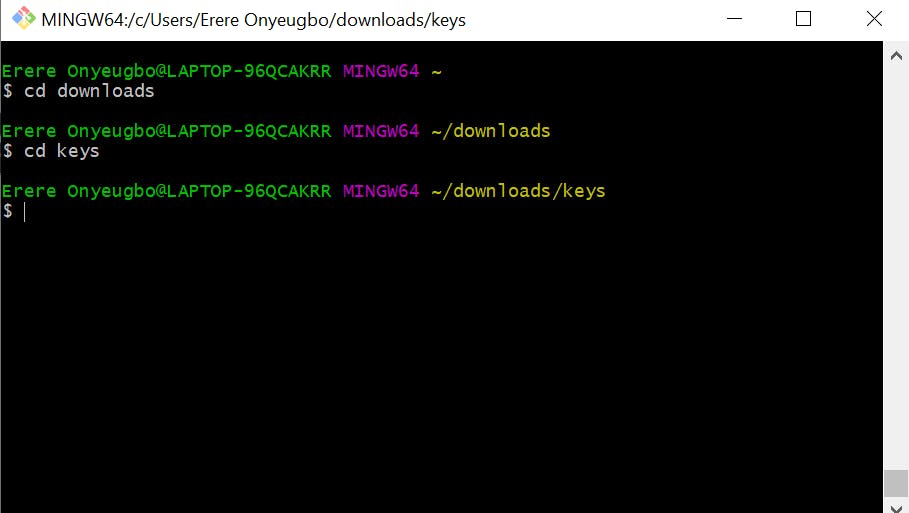
The first step is to open the location of the key pair we created. Remember that I used, 'Muna' as my key pair name. I will simply cd into the folder where it is stored.
Follow the commands and in step 4, click yes to the options provided by the terminal.
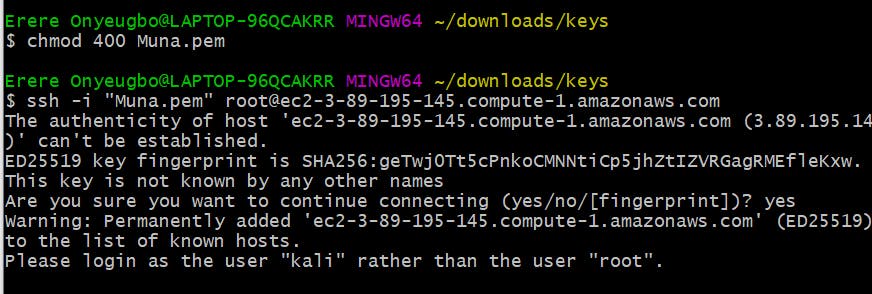
Next, change the name in the command from 'root', to 'kali', because that is the name of the instance we are using.

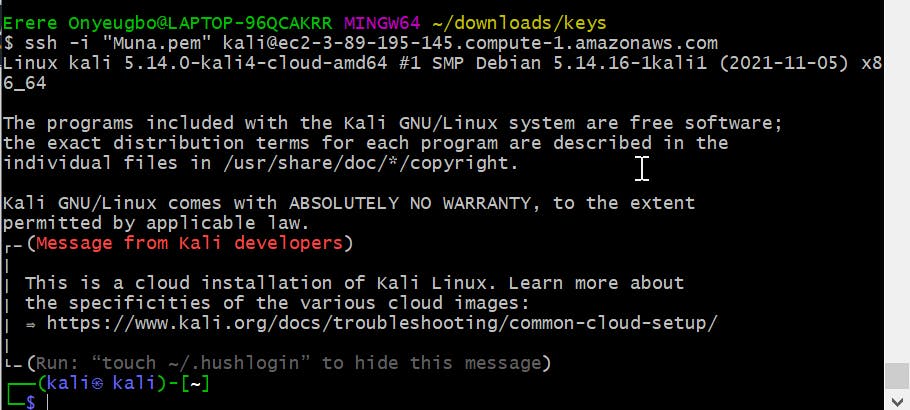
Enter the command, and voila! We have successfully accessed the server, as indicated in blue.
Finally, it is important to terminate the instance after every learning session, especially as a new user on the free tier option.
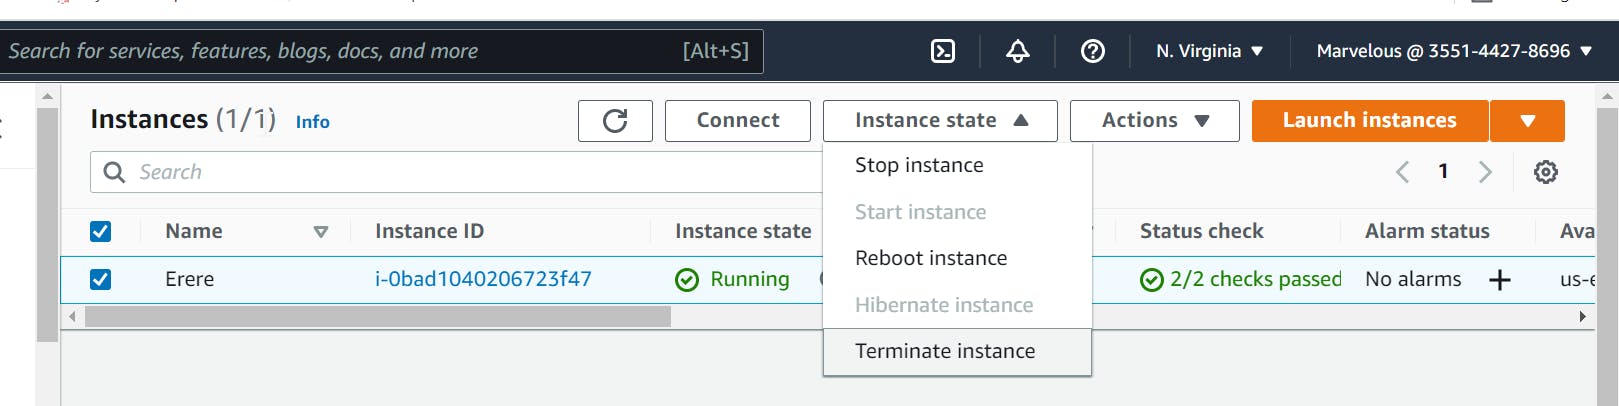
alternatively, you can stop the instance, but it is always best to terminate to avoid 'mistakenly' leaving it running. Once it is on the cloud, it is guaranteed to remain running until you terminate it yourself, regardless of the state of your local computer(off or on).
Thank you for reading, and welcome to Cloud nine!